Mornings get hectic fast, and a plain bowl of cereal rarely keeps anyone full until lunch. These grain-free granola bars are my go-to on busy weekdays because you can make a full tray in one bowl.
They work well for school lunches, a quick breakfast on the way out the door, or a make-ahead snack for game day and weekend hikes. Each bar has protein from the nuts, seeds and eggs.
Best of all, you don’t need oats or special equipment. A basic 20 cm square pan and a saucepan for melting the coconut oil are all it takes.
Why This Recipe Works
Traditional granola bars rely on oats and a lot of syrup, which can spike blood sugar and leave you hungry an hour later. This version swaps the oats for a mix of nuts, seeds and desiccated coconut, so the bars stay low in carbs and satisfying.
Two eggs and a few spoonfuls of tahini hold everything together. The bars slice cleanly once cooled, and the cinnamon and vanilla give them a cozy, bakery-style flavor without any refined sugar needed.
Ingredients
- Mixed nuts and seeds
- Unsweetened desiccated coconut
- Cacao nibs
- Coconut oil
- Tahini or nut butter
- Vanilla extract
- Ground cinnamon
- Salt and pepper
- Granulated sweetener
- Eggs
You’ll find the exact amounts in the recipe card below.
Variations
- Nut-Free Version – Use pumpkin seeds, sunflower seeds and extra coconut in place of the nuts. The texture stays just as crunchy.
- Chocolate Lovers – Stir in an extra tablespoon of cacao nibs or a few chopped sugar-free dark chocolate pieces after mixing.
- Fruity Twist – Add a handful of unsweetened dried cranberries or chopped dried apricots for natural sweetness.
- Nutty Spice – Swap the cinnamon for a teaspoon of mixed spice or pumpkin pie spice for a seasonal flavor.
How to Make Grain-Free Granola Bars
- Step 1 – Preheat the oven to 160°C (325°F) and line a 20 x 20 cm pan with baking paper, leaving some overhang so the bars lift out easily.
- Step 2 – Roughly chop the nuts, then combine them in a large bowl with the seeds, coconut, cacao nibs, cinnamon and a pinch of salt and pepper.
- Step 3 – Melt the coconut oil gently in a small saucepan or microwave, then let it cool for a minute so it doesn’t scramble the eggs.
- Step 4 – In a separate bowl, whisk the tahini, vanilla, sweetener and eggs until smooth and glossy.
- Step 5 – Pour the melted coconut oil into the egg mixture and whisk again, then stir the wet mixture into the dry ingredients until everything is evenly coated.
- Step 6 – Press the mixture firmly into the prepared pan using the back of a spoon or your clean hands, making the surface as flat as possible.
- Step 7 – Bake for 25 to 30 minutes, until the edges turn golden and the center feels set.
- Step 8 – Let the slab cool completely in the pan, about one hour, then lift it out and cut into 12 bars with a sharp knife.
Expert Tips
- Press Firmly – Compacting the mix well is what keeps the bars from crumbling, so don’t be shy with the spoon.
- Wait Before Slicing – Cutting warm bars leads to a messy result. Let them cool fully, or chill them for 20 minutes to cut neater pieces.
- Taste the Sweetener – Start with 3 tablespoons and add more only after tasting the mixture, since sweeteners vary in strength.
Serving Suggestions
These bars are great on their own with a cup of hot coffee or unsweetened tea. For a more filling breakfast, serve one alongside a boiled egg or a small bowl of plain Greek yogurt topped with berries.
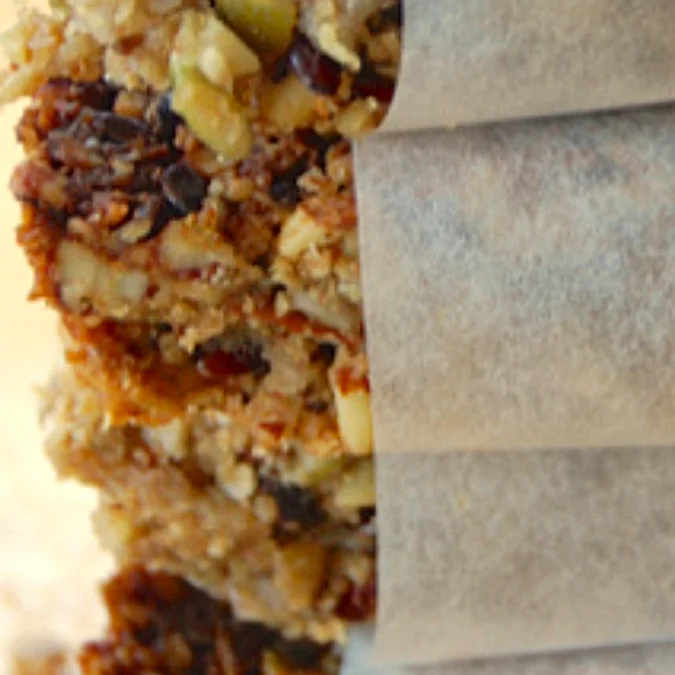
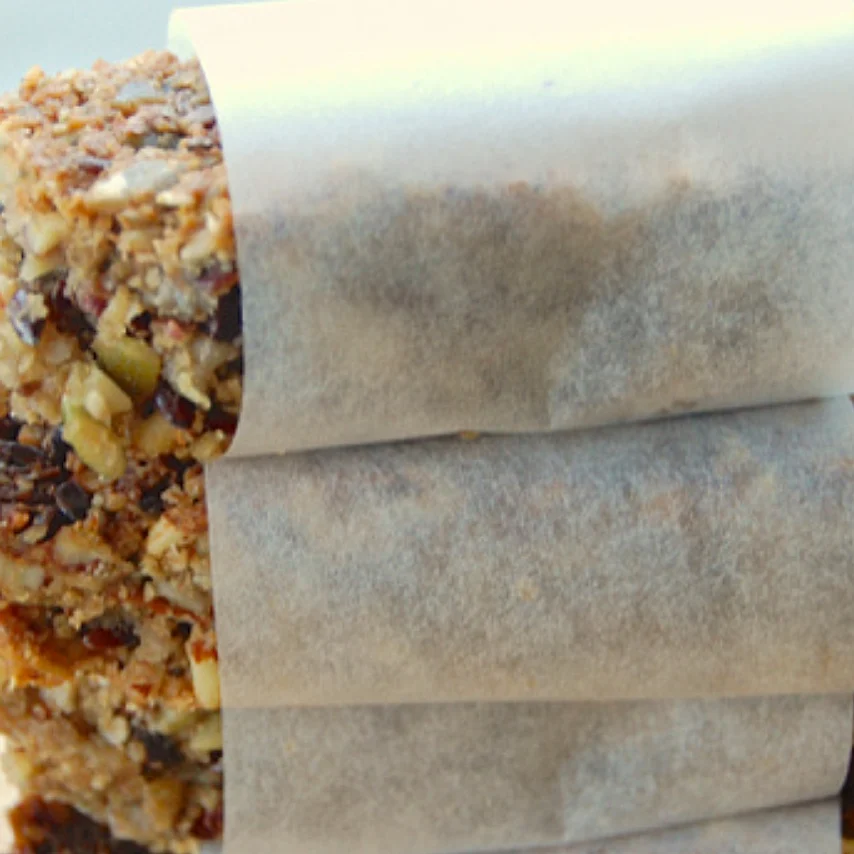
They also pack well for lunchboxes and hiking snacks. Wrap each bar individually in baking paper so grab-and-go is easy.
How to Store Leftovers
Keep the bars in an airtight container at room temperature for up to three days, or in the fridge for about a week. Cold bars are firmer and easier to hold, which many people prefer for breakfast on the go.
For longer storage, freeze the bars in a sealed bag for up to three months. Thaw them on the counter for 20 minutes or eat them straight from the freezer for a firmer bite.
Frequently Asked Questions
Are grain-free granola bars healthy?
They are a nutritious option because they use nuts, seeds and eggs for protein and healthy fats, with no oats or grains. Portion size still matters, since nuts and coconut are calorie dense.
Can I make these bars without eggs?
Eggs help the bars hold together, so replacing them is tricky. You can try a tablespoon of ground flaxseed mixed with three tablespoons of water per egg, though the texture will be softer.
What is the best sweetener to use?
Any granulated low carb sweetener works, such as erythritol or a monk fruit blend. Start with three tablespoons and adjust to taste, since some sweeteners are sweeter than sugar.
How long do grain-free granola bars last?
They keep for up to three days at room temperature, about a week in the fridge, and up to three months in the freezer when wrapped well.
 Recipe byEva Montgomery
Grain-Free Granola Bars
Ingredients
- 350 g mixed nuts and seeds (your choice)
- 50 g desiccated coconut (unsweetened)
- 2 tbsp cacao nibs
- 50 g coconut oil (melted)
- 4 tbsp tahini (or nut butter)
- 1 tsp vanilla extract
- 2 tsp ground cinnamon
- Salt and pepper, to taste
- 3 tbsp granulated sweetener of choice (or more, to taste)
- 2 medium eggs
Instructions
- Preheat the oven to 160°C (325°F) and line a 20 x 20 cm pan with baking paper.
- Roughly chop the nuts and combine them in a large bowl with the seeds, coconut, cacao nibs, cinnamon, and a pinch of salt and pepper.
- Melt the coconut oil and let it cool for a minute.
- In a separate bowl, whisk together the tahini, vanilla, sweetener and eggs until smooth.
- Whisk the melted coconut oil into the egg mixture, then stir everything into the dry ingredients until evenly coated.
- Press the mixture firmly into the prepared pan and smooth the top.
- Bake for 25 to 30 minutes, until golden at the edges and set in the center.
- Cool completely in the pan, about one hour, then cut into 12 bars.
Notes
- Store in an airtight container at room temperature for up to 3 days, in the fridge for up to 1 week, or in the freezer for up to 3 months.
- Calorie count is an estimate and varies with the nuts, seeds and sweetener you choose.
- Chilling the slab for 20 minutes before cutting gives the cleanest edges.